

Reaching Into Your Wallet
At the end of the last post, I already hinted at the setup we bought. Coming up with the decision — both to buy and to decide exactly what — wasn’t that simple, though. We wanted to make sure we could actually play around with something that produces usable outputs, not just toy examples. But we also understood that to do so, we’d need to buy some pretty expensive gear.
Most people like to avoid talking about the financial side — their rigs just mysteriously pop out of nowhere like it’s nothing. I guess the main reason is that everyone wants to project an aura of success and competence. But if you’re a regular dev and not someone who’s already sold a startup, high-end PCs are not a trivial expense. Still, we felt that even though it was a big investment, it was one we could justify. Losing out on knowledge just to have a little more money sitting in the bank felt like a trade-off that would lead to resentment and lost opportunities later.
And since we could split the cost, that made the leap a lot easier. It’s not something people usually think about, but sharing a setup can make getting started feel way less daunting. You just have to make sure it’s secure and that you don’t step on each other’s toes — which, honestly, isn’t that hard, since most of the time the machine would be sitting idle anyway. Honestly, given that I’m not the most entrepreneurial type, I don’t think I would have gone down this path without that extra sense of shared commitment — it’s much easier to take the first steps when something exists outside of just your own motivation.
Choosing the Hardware
Eventually, you just have to pull the trigger. And while we can get pretty nitpicky when it comes to purchases like this, we actually settled on the specs fairly quickly. The goal was to get as close to high-end as possible without wasting money on the steep diminishing returns that come with chasing absolute top-tier parts. This is the setup we ended up with — it came to about 8,095 USD in total:
Model | Price (USD) | |
GPU | 2 827 | |
CPU | 2 033 | |
Motherboard | 738 | |
Memory | 810 | |
SSD | 625 | |
PSU | 545 | |
Chassis | 248 | |
CPU Cooler | 166 | |
Fans | 4x Noctua Nf-A14 Pwm | 103 |
I’ve seen it before — and it’s still strange every time — that buying something premium doesn’t necessarily mean better quality control, more attention to detail, or less corner-cutting in the final product. This time was no different. We noticed right away that the GPU showed absolutely no signs of life. It was stressful — we both remembered those late-90s, early-2000s moments from our childhood when a shiny new graphics card just refused to work, and it felt like history was repeating itself.
To be sure, we decided to test it with another motherboard to confirm whether the GPU was actually dead. My brother brought it to a local computer shop — strangely enough, they didn’t have any motherboards in stock at all. Later, he reached out to one of his coworkers, who stepped in to help. He even let my brother take apart his own home PC to fit the huge GPU inside and test it. And sure enough, once the card was plugged into that system, it worked perfectly.
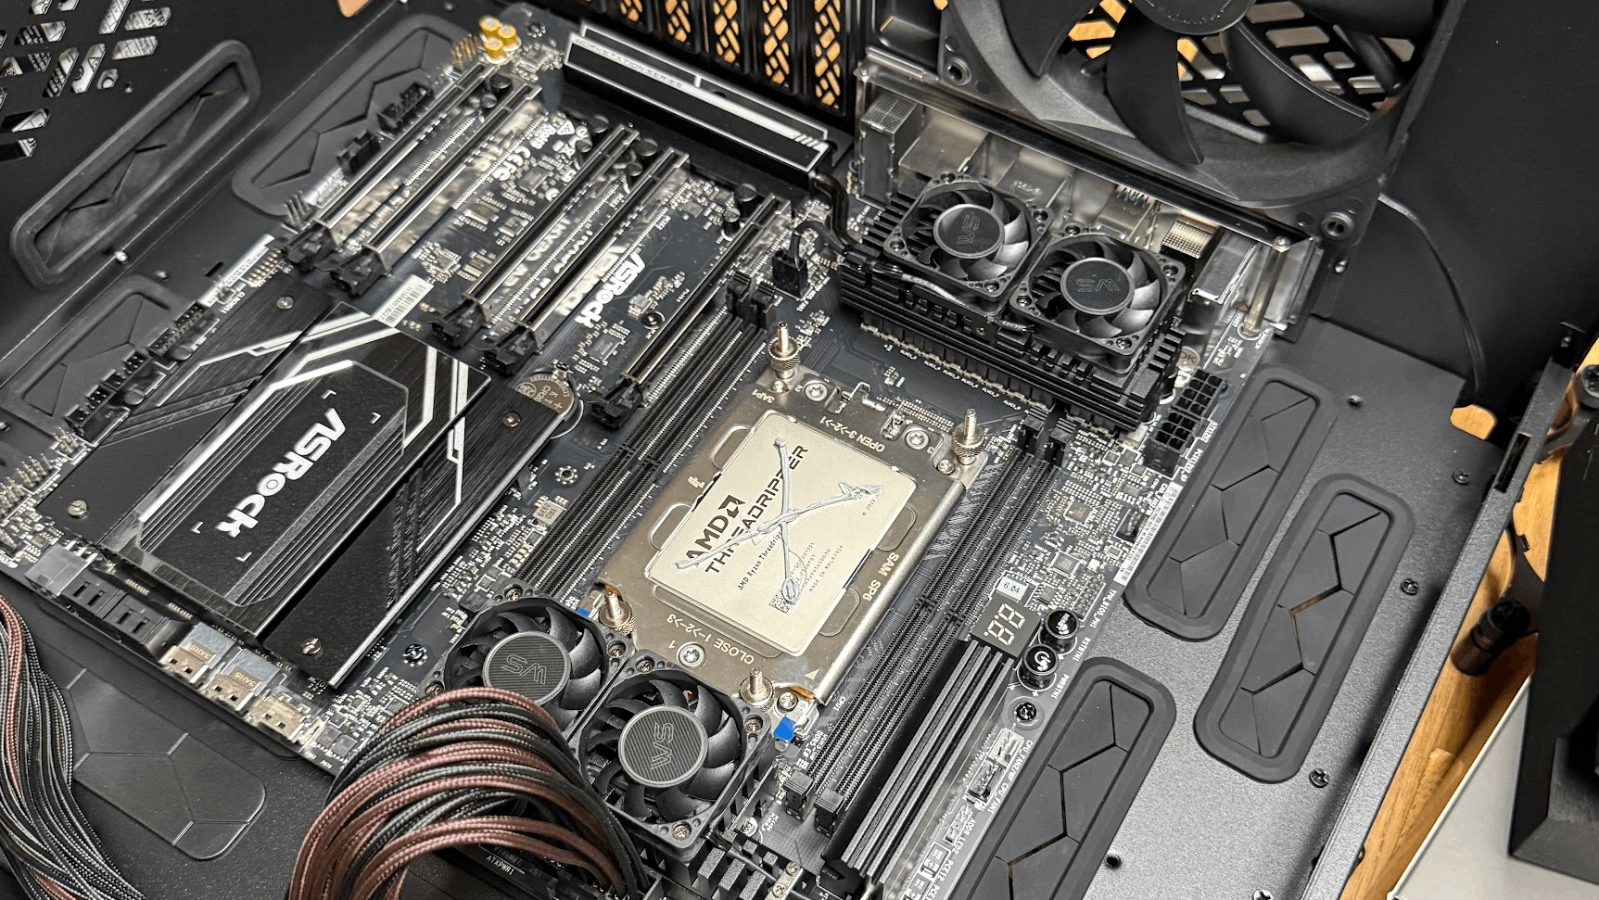
So it turned out the problem wasn’t the GPU at all, but the motherboard — an ASRock TRX50 WS. The cherry on top? During the assembly, a few small plastic clips got bent, which meant the warranty was gone too. So yeah… next time we’ll probably steer clear of that brand altogether.
The Build
Finally it was time to actually put things together. This is something I’ve last done around 20 years ago, and it was just as much fun as back then - especially now that we could leave the middle price category and shoot for something super powerful. Just seeing all the boxes next to each other was pretty nice. There’s something real about the notion that it has its drawbacks when everything is abstracted away — so having all these boxes, hardware, and tools in front of us, being unpacked, assembled, and set up, felt refreshing for a change.
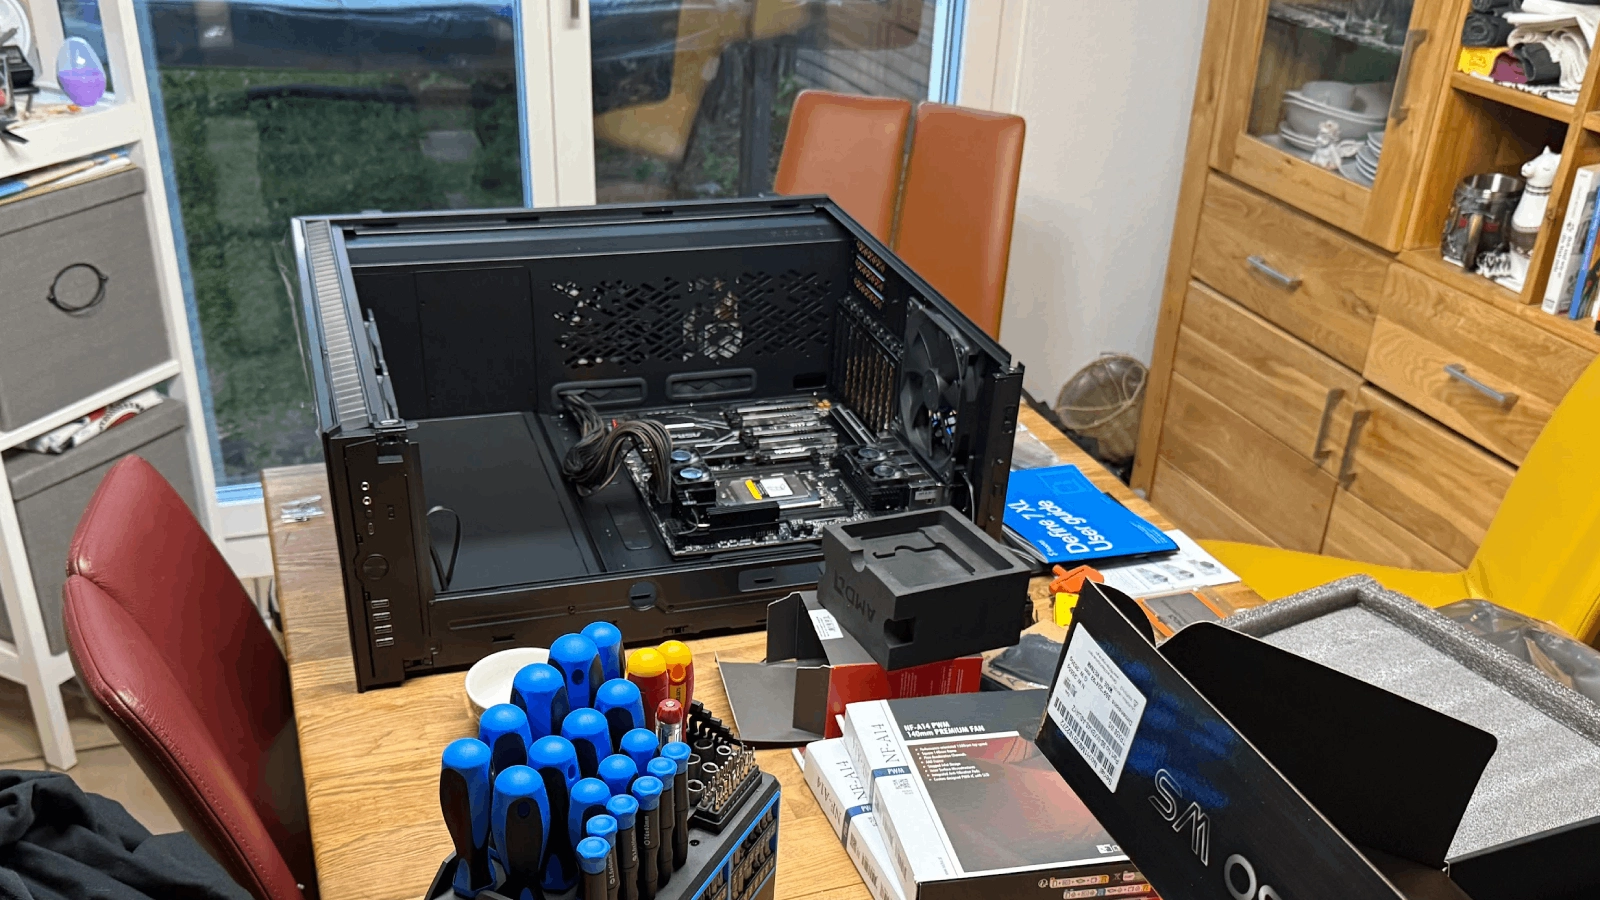
It’s always interesting to notice the little details once you actually start assembling everything. And it turns out there has been quite a lot of innovation in building — for instance, cable management is now integrated into the chassis, making the whole experience less painful and resulting in everything being neatly put in its right place. Cases have also become smarter overall — tool-less panels, modular layouts, and airflow designs that finally make sense.
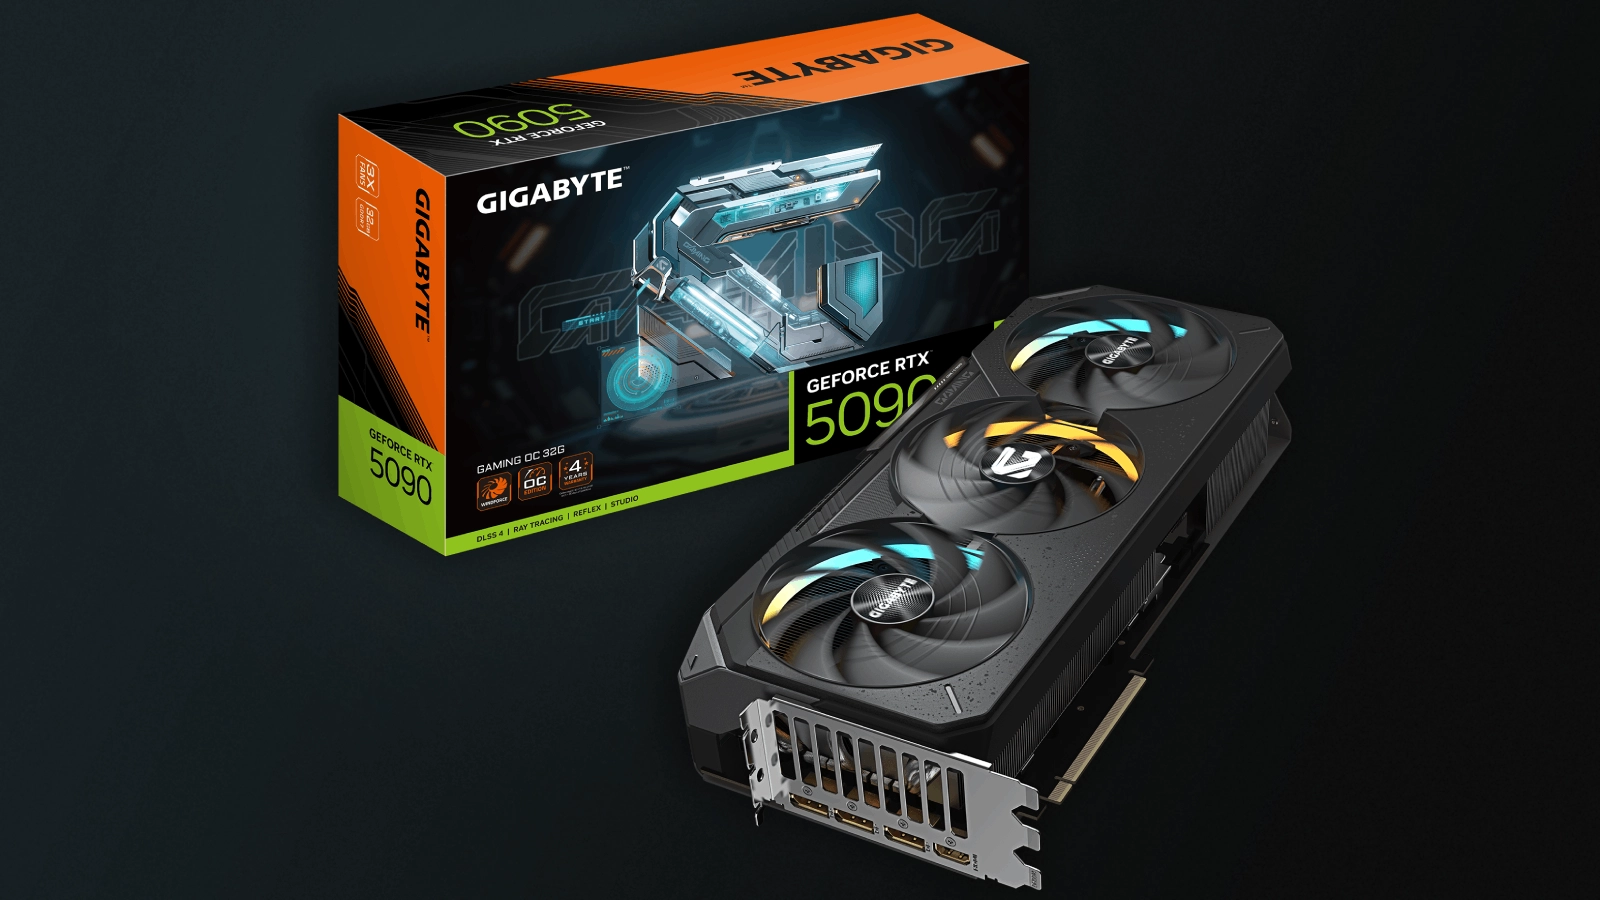
The GPU was easily the centerpiece of the build. Everything else — the power supply, the cooling, even the case — was chosen around it. It’s the part that does the heavy lifting, the reason the whole setup exists. The Gigabyte RTX 5090 Gaming OC looks almost ridiculous in size, but there’s a certain honesty to it — no attempt to hide what it is. Just raw performance, metal, and fans. Once it was finally in place, the build suddenly felt complete, like the rest of the hardware finally had a purpose.
Setup and Security
Once the build was finally complete, the next step was to set up our development environment. At first, we went a bit overboard with security — thinking about air-gapped setups, USB-only input, no network connection at all. It sounded cool in theory, but in practice it quickly turned into one of those deep rabbit holes where every “what if” adds another layer of inconvenience. Since the machine’s purpose was to be remotely controlled, a fully isolated setup just didn’t make sense anyway.
In the end, we settled for something far more reasonable: a secure, controlled, but actually usable configuration. We followed the basics — no unnecessary services running, SSH limited to key-based auth, and a minimal set of open ports. We also set up a Tailscale tailnet so we could access the workstation from our laptops without exposing it publicly.
There was still one small wrinkle: it’s one thing to isolate the system from the outside, but if you’re sharing it with someone else, it’s also worth giving each person a bit of privacy. In our case, that mostly meant directing our chat histories to restricted directories.
For version control, we took a simple approach. Our models live in /mnt/models-ro, while most of the shared code, Docker configs, and project files sit in /mnt/shared/ai, which corresponds to our main branch. Both of us has a copy of that folder in our home directory under ~/ai, serving as our own feature branch. We work there independently using our own feature branches, and when something’s ready, we open a PR to main — once it’s merged, the changes show up in the shared folder.
Closing Words
If the only thing discouraging you is the price point, keep in mind that with this setup we can get really good results — meaning that even with a lower-tier build, you can still expect solid performance. Your current workstation might already be enough for certain use cases.
For instance, on my MacBook Pro with an Apple M3 Pro and 18 GB of unified memory, running LM Studio (which you can set up pretty quickly), I can get results that range from reasonably usable to random gibberish — but leaning heavily toward the usable side. It’s not something that replaces prompting ChatGPT, Claude, or Grok, but it’s still a great option for learning, experimenting, or in case of a zombie apocalypse.